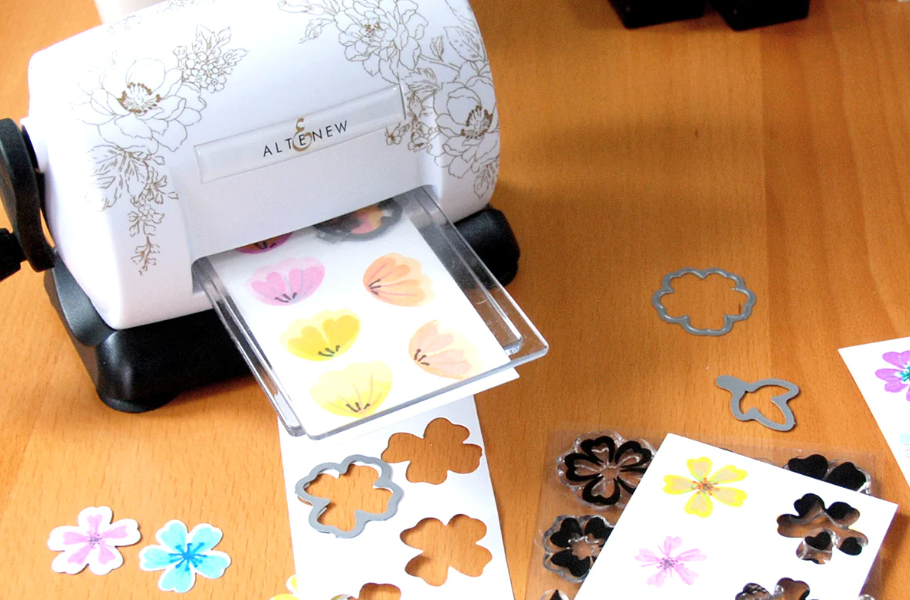
Paper die-cutting machines have revolutionized the crafting world, allowing hobbyists to easily create intricate designs and shapes. Whether you're an experienced crafter or a beginner, knowing how to use paper die-cutting machines can open up a world of creative possibilities. In this guide, we'll walk you step-by-step through the process of bringing your artistic vision to life with a paper die-cutter.

1: Choose your design
The first step in using a paper die cutter is deciding on the design you want to create. Many die cutters come with a variety of dies and templates, while others allow you to upload custom designs. Choose your design according to your project theme and your personal preferences.
2: Prepare materials
Once you've chosen your design, it's time to gather the materials you need. This usually includes:
Paper or Cardstock: Choose the appropriate paper or cardstock for your project. Thicker materials may require multiple passes through paper die-cutting machines
Mold or Template: Make sure you have a stencil or template that corresponds to the design you choose.
Cutting Mat: Some die cutters require a cutting mat to protect the machine's rollers and provide stability during the cutting process.
3: Set up your machine
Place the machine: Place the die cutter on a clean, flat surface. Make sure it's plugged in and powered on.
Adjusting the rollers: Adjust the rollers of the machine to the proper setting according to the thickness of the material. Most machines are clearly marked to guide you.
Install the mold or template: Insert the selected mold or template into the designated slot of the machine. Make sure it is securely in place.
4: Put in the material
Carefully place the paper or cardstock of your choice on the cutting mat. Make sure it lines up with the mold or template. Then, feed the mat and material into the machine following the machine's alignment guide.
5: Start cutting
Choose your settings: Depending on your machine, you may need to choose settings such as depth of cut and pressure.
Press the start button: Initiating the cutting process will cause the machine to move the cutting blade or die onto the material exactly as designed.
6: Delete your cutting design
After the machine has completed the cutting process, carefully remove the cut design from the cutting mat or machine platform.
7: Finishing work
With your design complete, you can now incorporate it into your craft project. Whether you're making greeting cards, scrapbooking, or adding embellishment to a variety of items, the possibilities are endless. Use glue or an adhesive such as double-sided tape to attach the die-cut design to the project.
8: Clean and store your machine
Cleaning your paper die cutter is crucial when you're done with your project. Remove excess paper or debris from cutting blades or dies. Keep your molds, formwork, and machines safe and organized.
All in all, using a paper die-cutting machine is an enjoyable and creative process that opens up endless possibilities for crafting. Let your imagination run wild and let your die cutter bring your artistic vision to life.
259
0
0
All Comments (0)
If you are interested in sending in a Guest Blogger Submission,welcome to write for us!
Comments